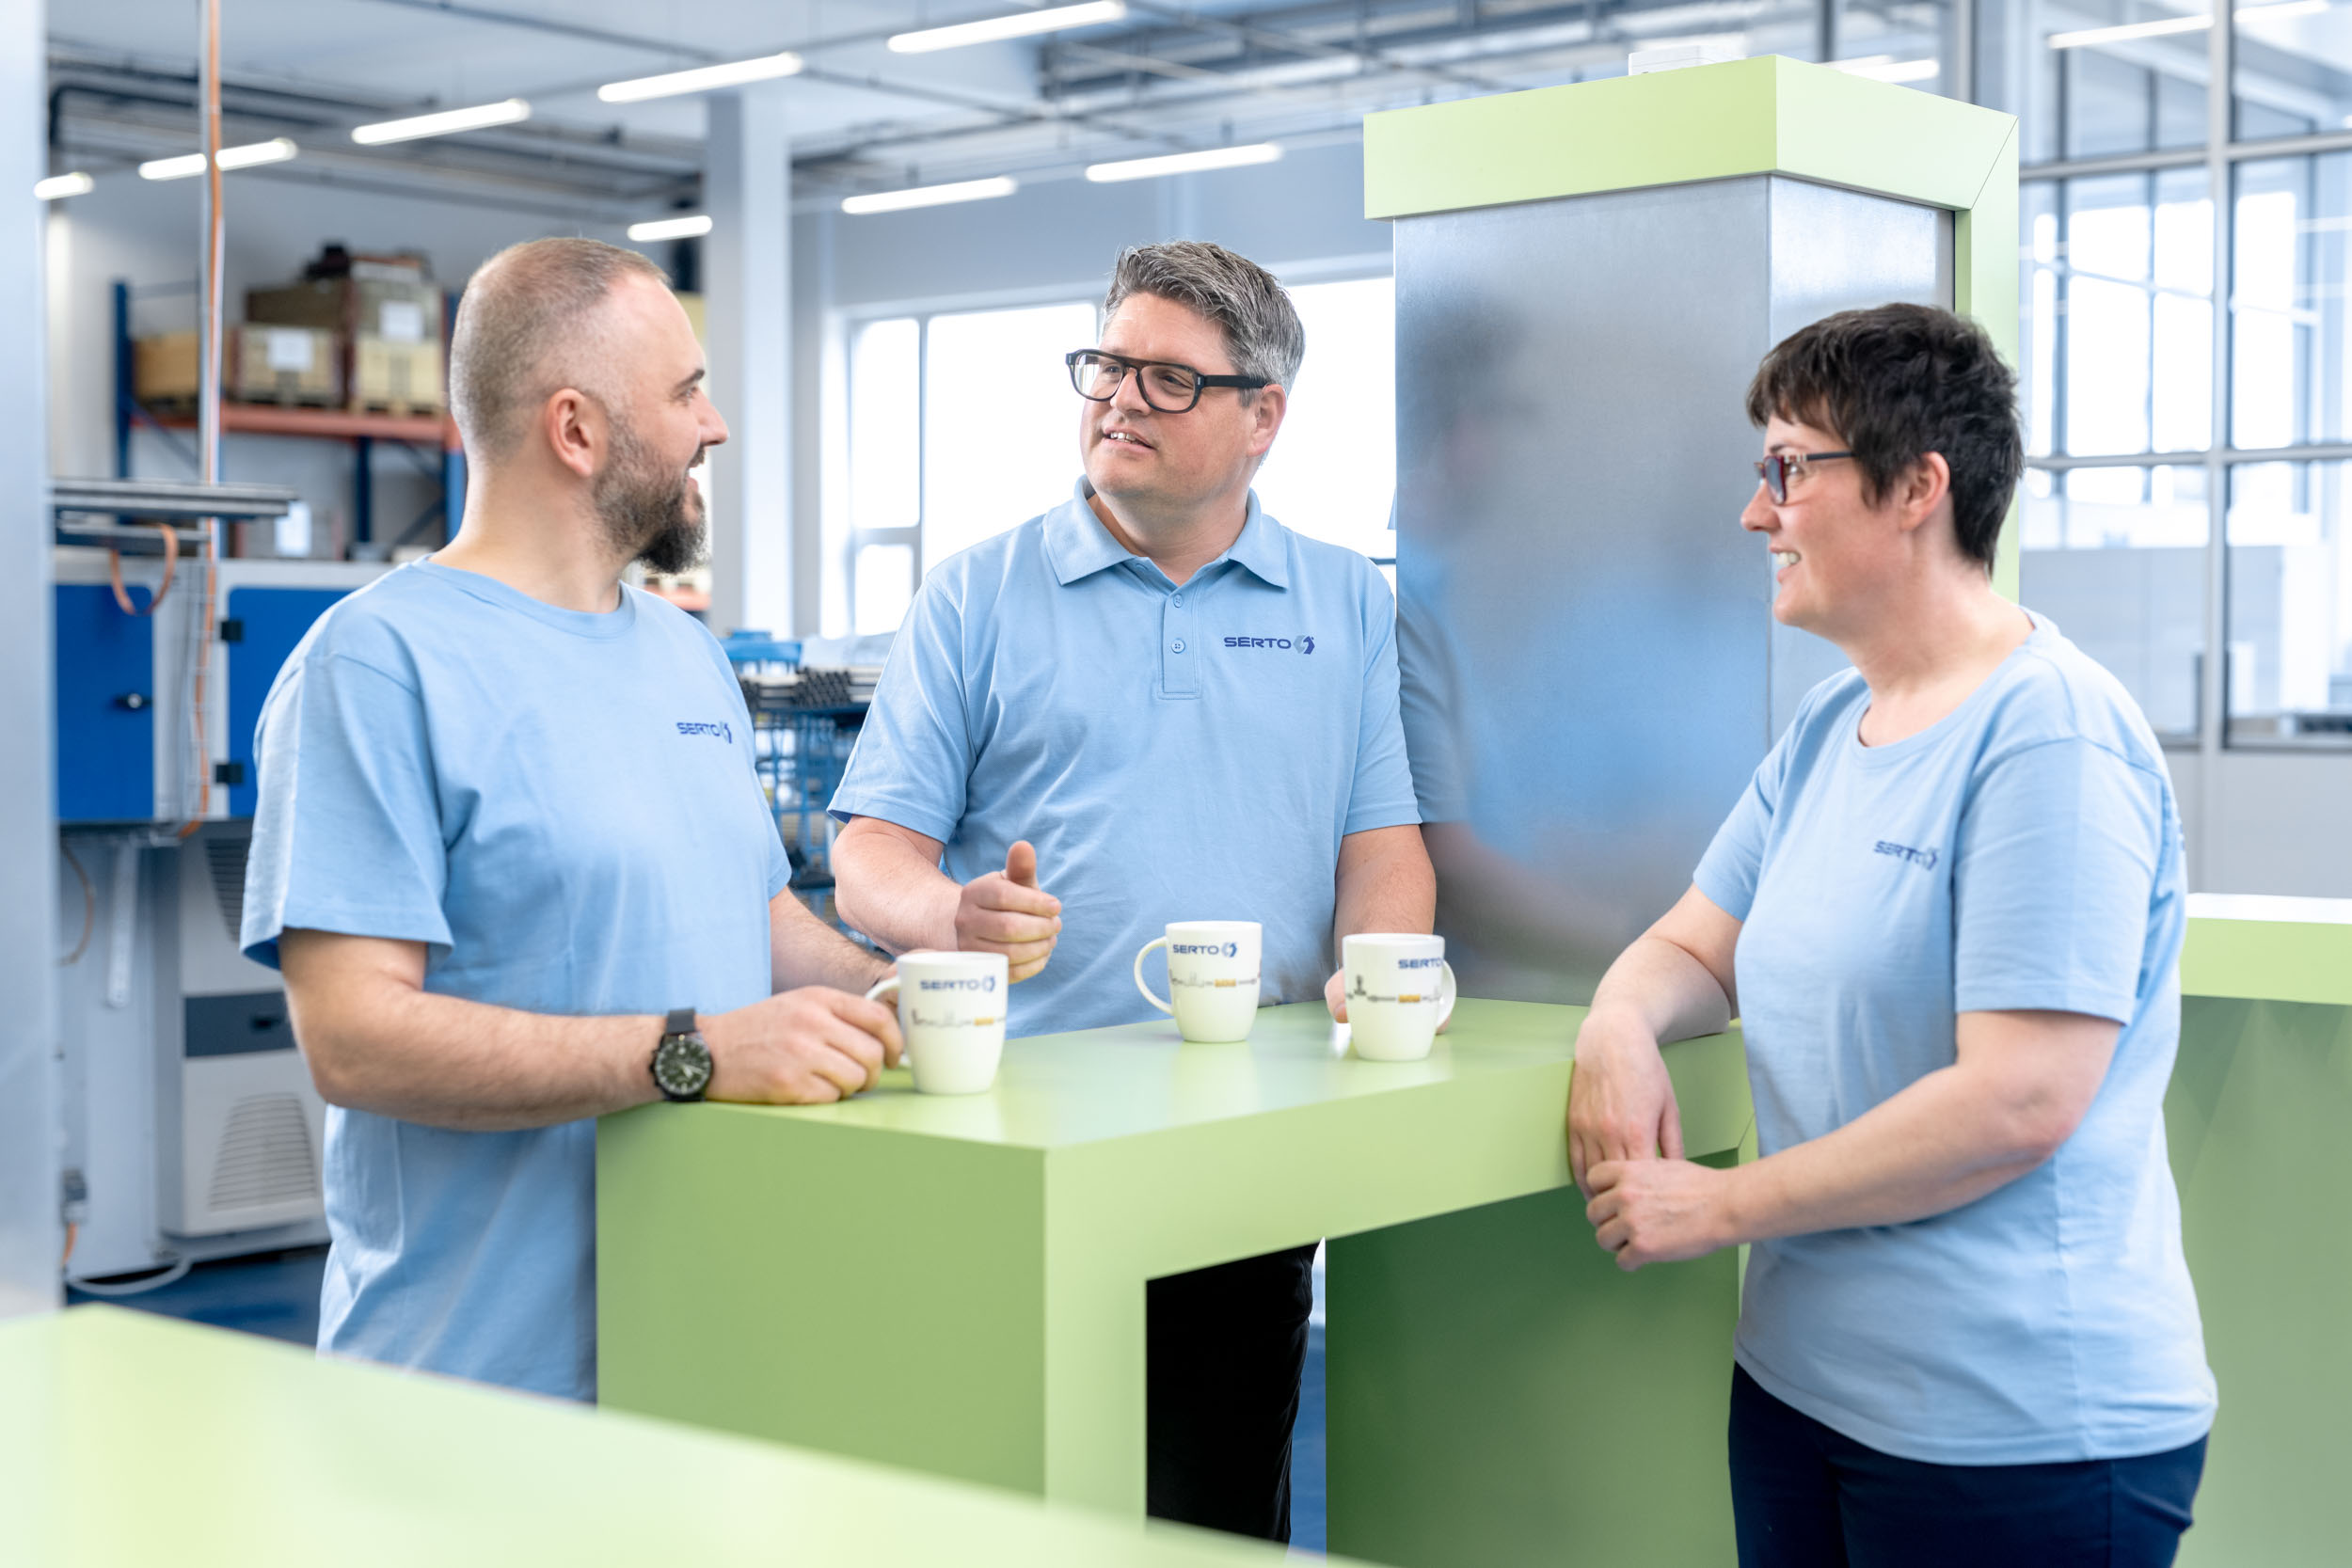
Our team – there for you at every step of the process
The Project Engineering Team is made up of 10 engineers, all at your disposal for any questions concerning the development and design of system solutions.
Thanks to the experience gained from numerous projects, they provide competent advice and accompanies you through every step of the process, from your initial enquiry to series production.
What our customers have to say about working with Project Engineering
Project process
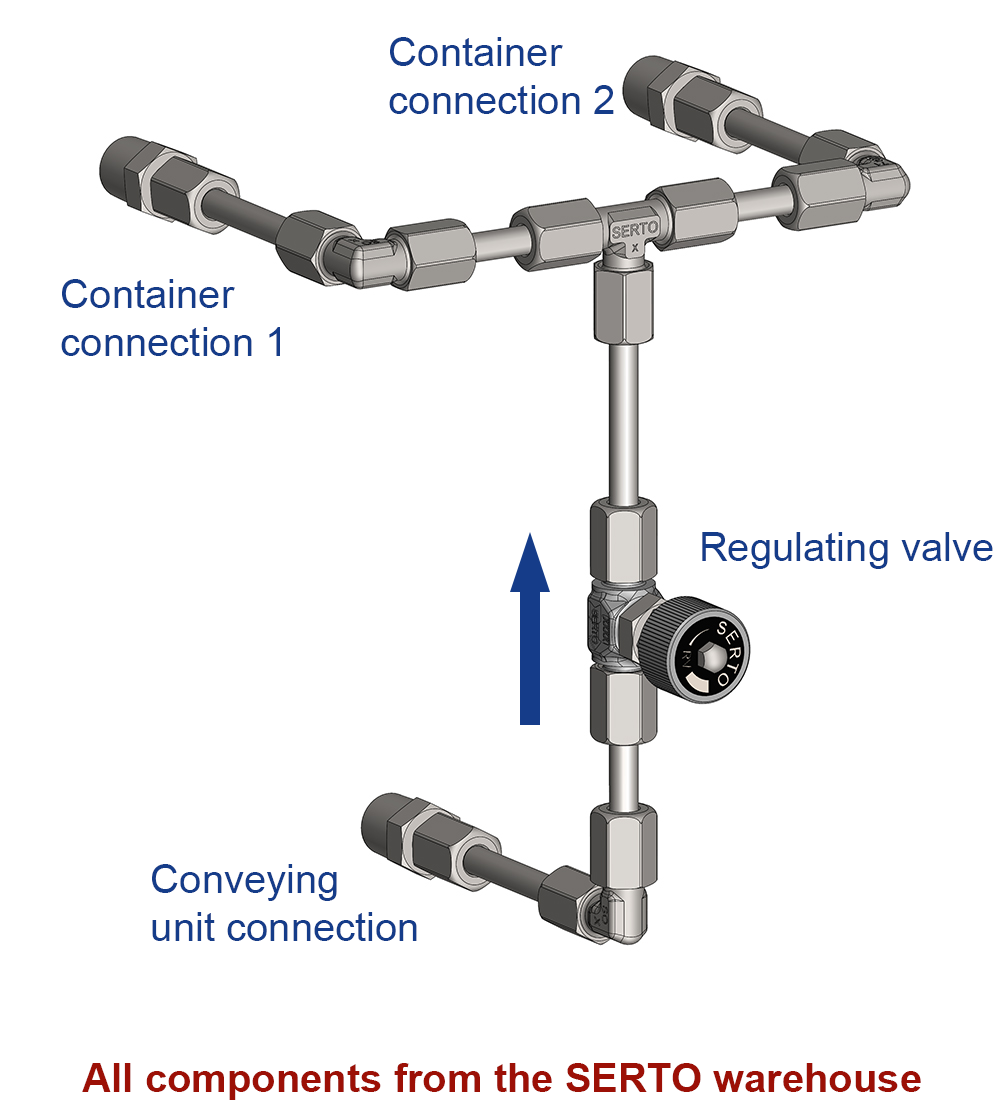
A practical example of system optimisation
The graphics show a step-by-step system optimisation using a customer example. Costs, assembly time, the number of sealing points and the number of items to be processed changed in the course of the project to suit the customer.
Step 1
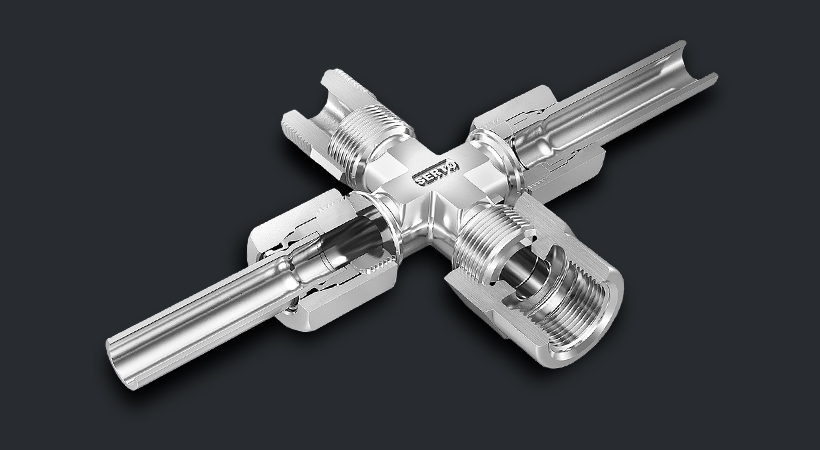
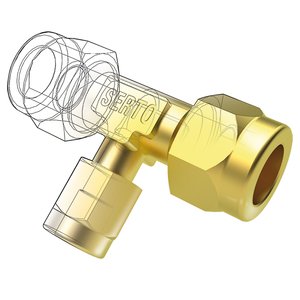
Initial situation: Distribution of a fluid from a conveyor unit to two containers. There is a regulating valve at the centre of this. The connection points and the valve are provided. And the desire to implement this solution with SERTO products.
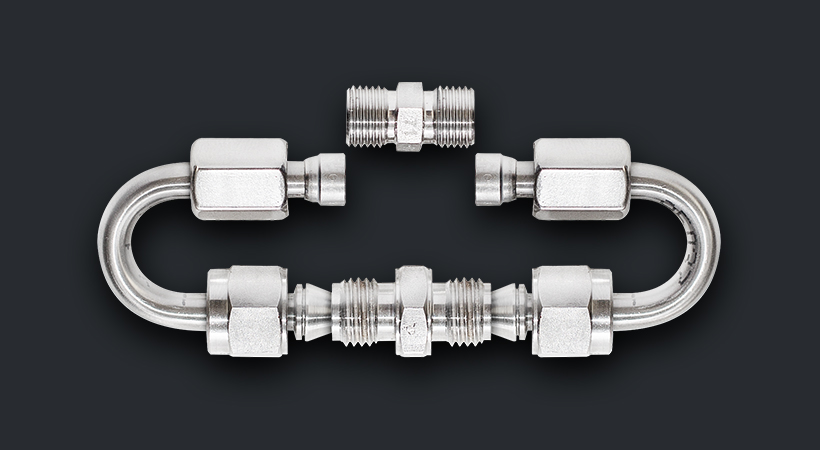
Step 2
In order to guarantee the sealing of male connectors and a uniform screw-in height of the assembly, even after repeat assemblies, we have exchanged the conical male elbow connectors with cylindrical male elbow connectors with sealing edges

Step 3
Elbow fittings are replaced by bent tubes. This significantly reduces the number of sealing points.
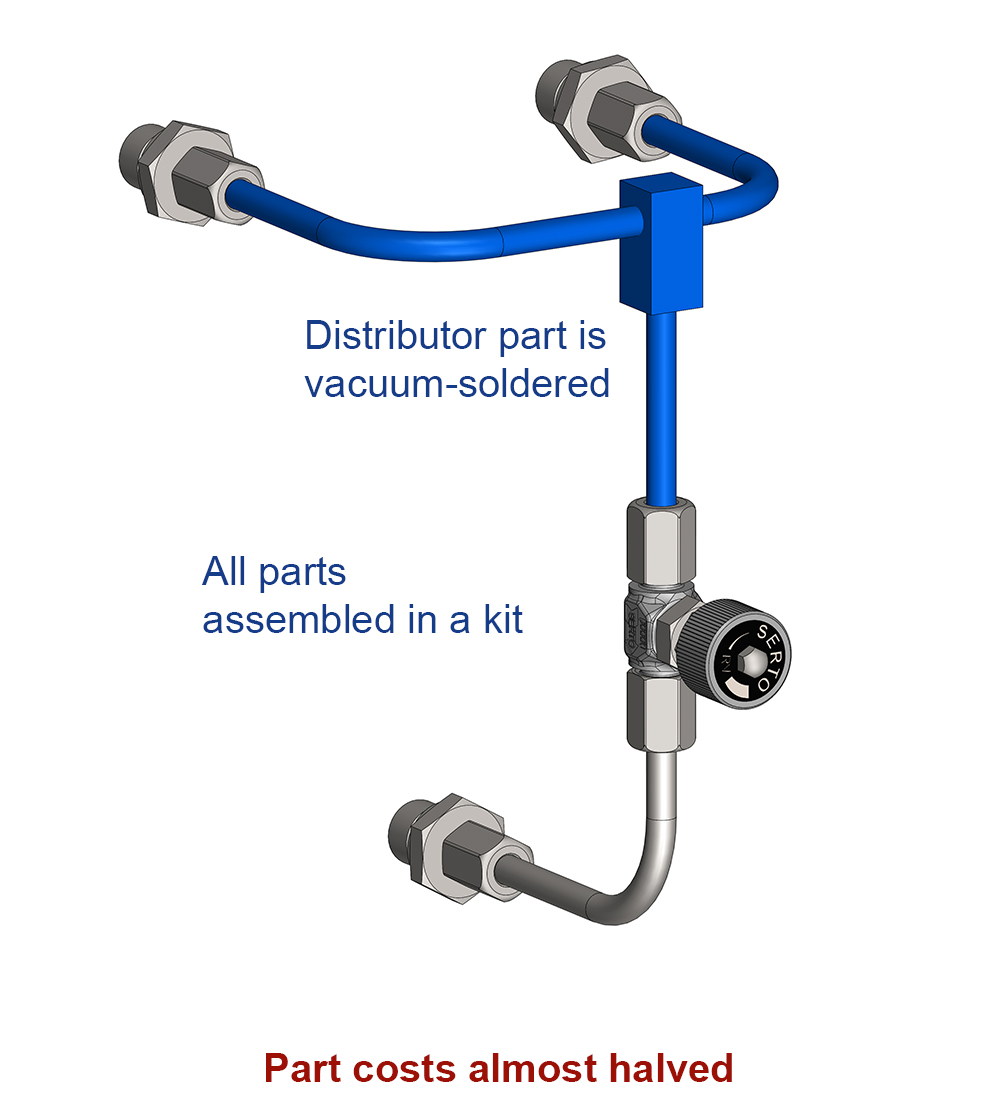
Step 4
The final solution uses a solder assembly that also eliminates the central T union. The customer receives this assembly ready for installation.